


Do you receive an alert to Authenticate All Email-Sending Domains by 31 March 2023 from Zoho CRM?
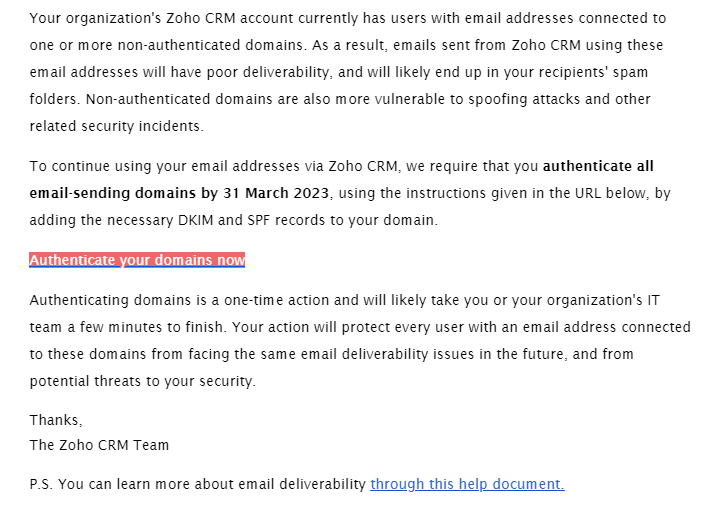
If yes, then no worries. Let’s improve deliverability and protect your mailboxes!
In today’s fast-paced world, emails form a significant part of communication in every industry and organization. Businesses often use multiple domains to convey the message to their receivers. However, it’s important to determine an email policy that can specify the rules by which the email source can be validated. Lets discuss about Authenticate Your Domain to Send Emails in Zoho CRM.
Also Read: Why Zoho CRM Partners?
Zoho CRM Software gives email authentication standards that help to augment the trustworthiness of an email’s origin when you choose to deliver emails from your Zoho CRM Account using your domain.
You can now easily Authenticate your domains and subdomains to reduce the chances of your email going to spam and bring about better deliverability for your emails.
You need to sanction the following authentication standards to Authenticate Your Domain to Send Emails in Zoho CRM Account.
- Domain Verification
- DKIM (Domain Keys Identified Mail)
Besides, bearing out SPF (Sender Policy Framework) is also recommended!
How To Authenticate Domains In Zoho CRM Account?
Validating the email source incorporates the following steps:
Step 1: Add your business’s domain or subdomain.
Putting your business’s domains or subdomains is the initial step to moving towards the authentication process. Email verification assists in ensuring that the domain you use to send emails is authorized and trustworthy. To facilitate this, add a relevant domain to your Zoho CRM Account.
Step 2: Verify the Email Domains With Proper Details
Once you put the domain in your Zoho CRM Account, you’ll receive the auto-generated verification code on your email address that should be entered to verify the domain details. The verification email will be valid for 15 days, in case you have worn out the validity period, you can tap on the Resend Mail link.
Step 3: Validate The Records
After verifying the email domains in your Zoho CRM Account, you must add DKIM (Required) and SPF (Recommended) records to your DNS settings.
Wondering about the DKIM records?
DKIM ensures that the message you sent has not been altered in the transmission. It authenticates email messages by using public key encryption. So, adding DKIM records in your DNS settings is mandatory to get better email deliverability.
Wondering about the SPF records?
SPF records allow sending domains to define which IP addresses are allowed to deliver email messages. You can add SPF records to provide added security against spoofing attacks and helps to prevent emails from your domain from being marked as spam.
How To Add a Business Domain in Zoho CRM?
To add your professional domain:
- Tap on the Setup > Channels> Email > Email Deliverability > Email Authentication.
- Click on the Email Authentication tab and Add Domain.
- Enter the required Email Address.
How To Verify The Domain Details in Zoho CRM?
To verify the domain details:
- Click on the Domain and tap on the Enter Code.
- In the Verify Domain popup, put the Verification Code.
- Click Verify.
How To Authenticate Records in Zoho CRM?
Validate the Records:
- Go to the Domain and select Validate Records.
- Copy the SPF or DKIM record in the authentication domain popup.
- Paste the code in your DNS settings.
- Select the Validate Record once the code is added.
For further information and guidance, connect with KG CRM SOLUTIONS and get business-driven solutions.